How to fill in project data for Joomla extensions in the SW Projects component, paid download options, settings for Joomla extensions.
What is a project in SW JProjects?
A project is any downloadable digital product to which versioning is applicable (but not necessarily), and it is also possible to download it for free or for a fee using a license key.Anything can become such a digital product, but the component has historically developed as the basis for a software catalog, including extensions for the Joomla CMS, so it is possible for the project to create versions of it, as well as maintain documentation. Most likely, it is better to use other solutions to download photos, audio or video files.
Creating a project
To create a project, go to the menu in the admin panel - Components - SW JProjects - Projects. Click create.
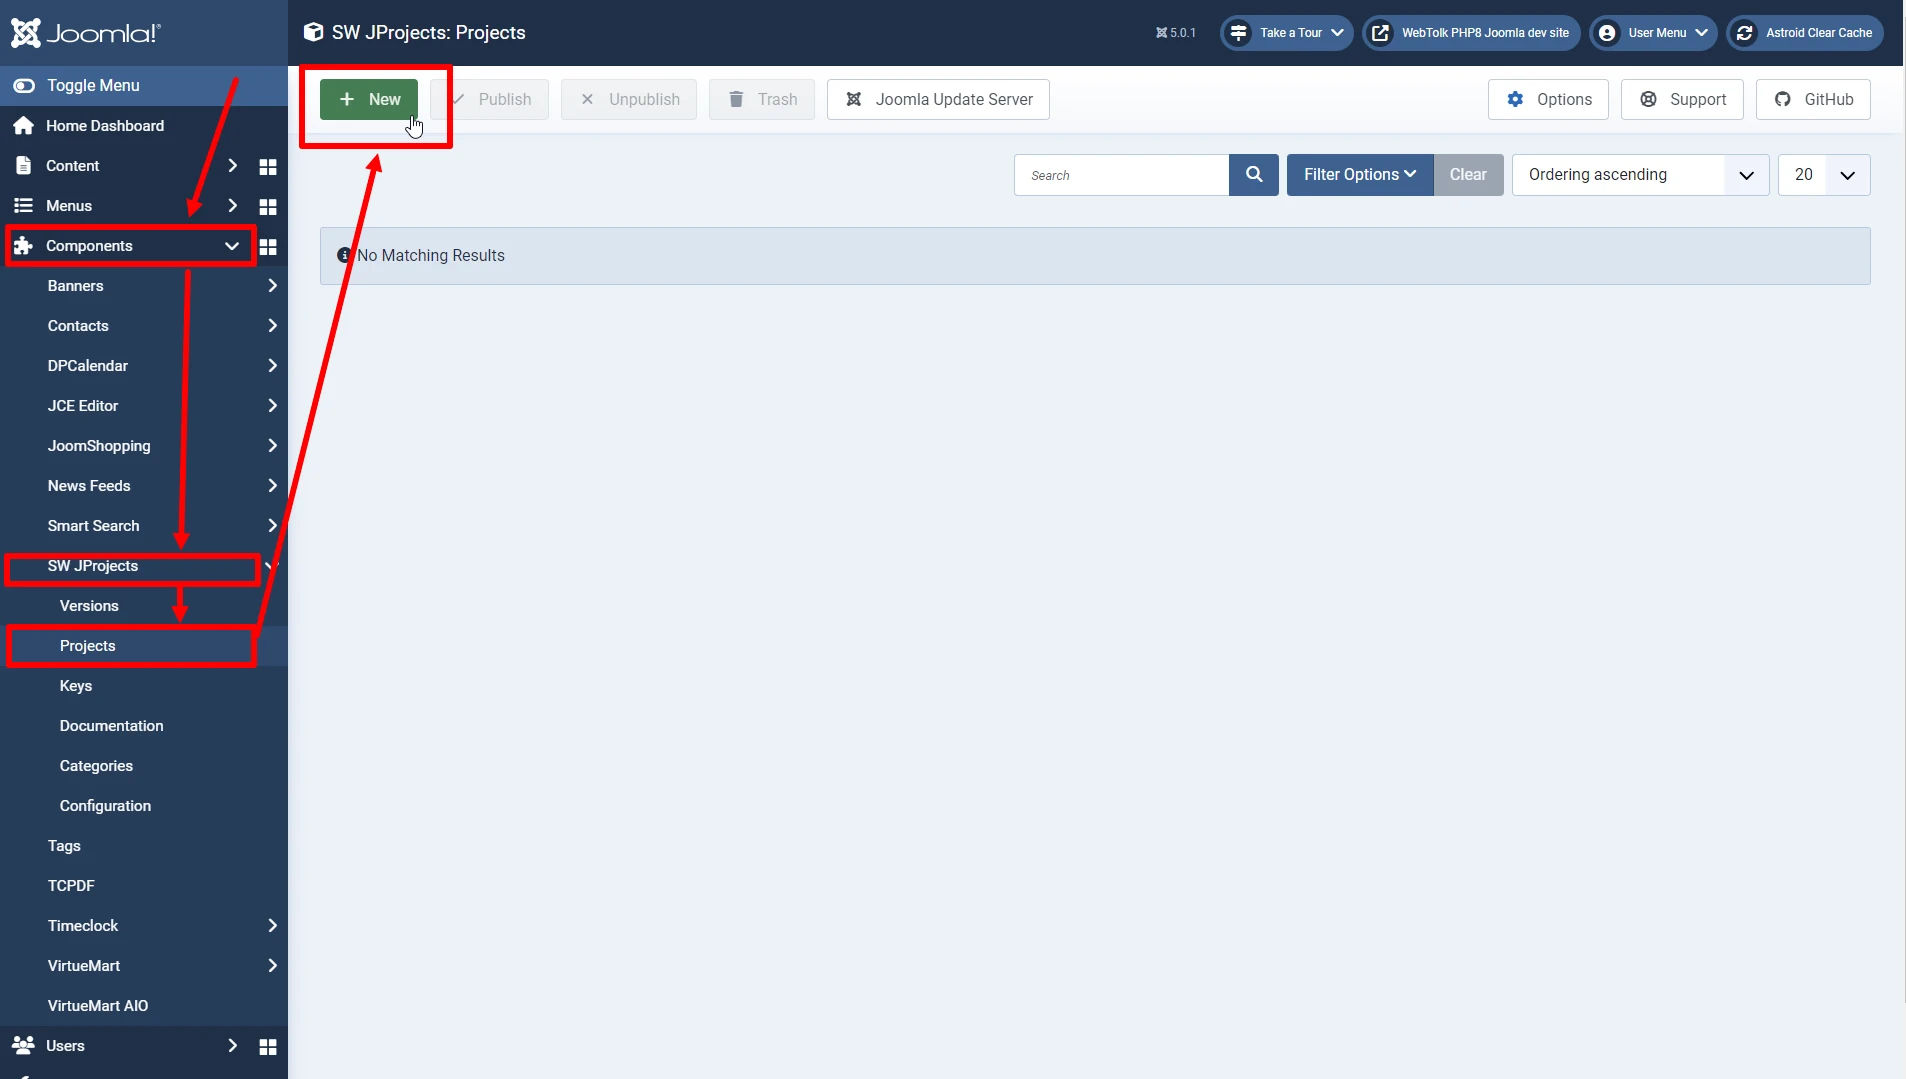
SW JProjects Project Settings
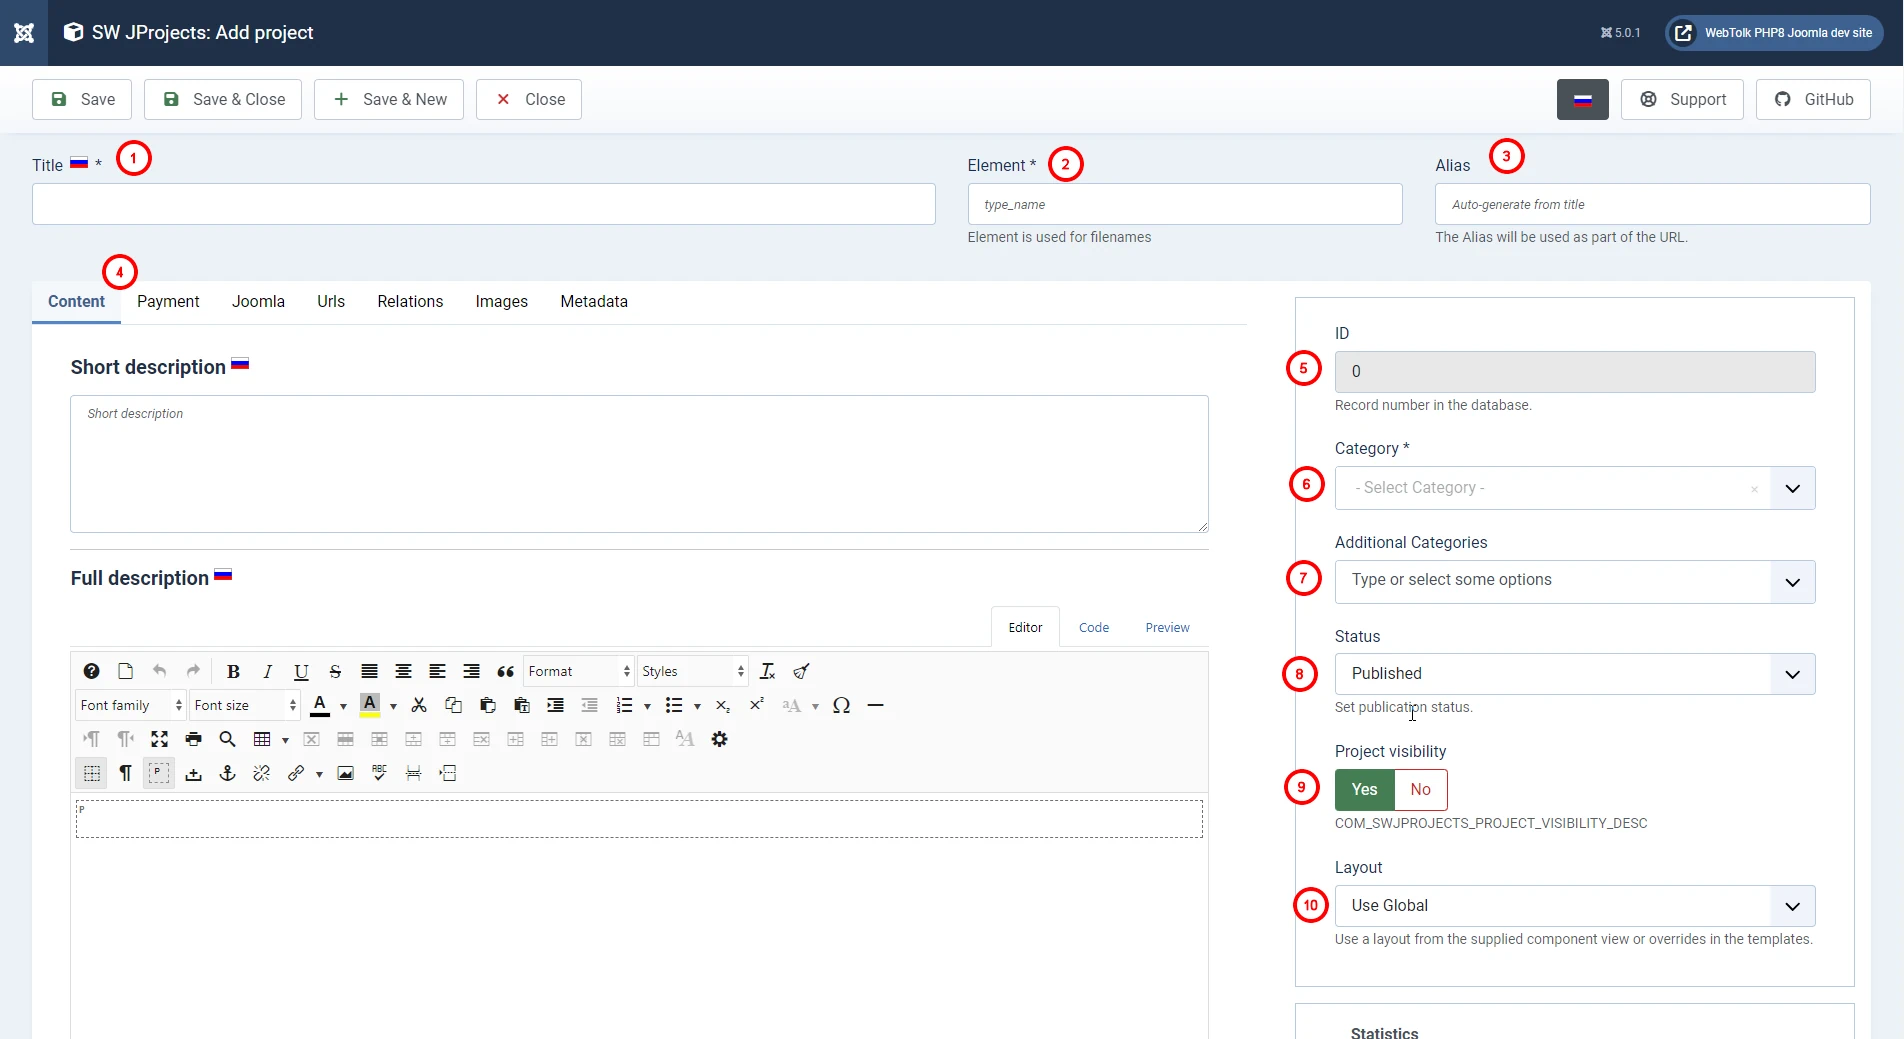
- Title
- The title of the project is visible to users of the site. The name of your digital product.
- The
- element is the system name of the project in the SW JProejcts component, a kind of alias analog in Joomla. It must be unique for each project.
- Alias
- is a regular alias in Joomla, which is used to build the SEF URL of a web page.
- Content, Payment, Joomla, etc.
- Component settings tabs.
- Id
- After saving, the Project Id will be visible here.
- Category
- The main category in which the project will be located. The alias of this category can be in the SEF URL of the project.
- Additional categories
- You can assign an unlimited number of additional categories to a project by creating thematic collections from projects or combining them according to any other logic. For example, your project is a Joomla plugin and is in the main category "plugins". And an additional category can be "For Joomla 5" or "CRM", etc.
- Published
- Project status: published, unpublished, in the trash. An unpublished project is not visible to site users, does not get into the XML sitemap, and the update server and Changelog URLs are disabled for it..Any access to the project will cause error 404.
- Project visibility
- This parameter allows you to set the visibility of the project for the frontend. Creating a private project. Similar to the status of the publication. It is necessary in cases where you want to use the update server and the Xangelog URL for the project, but you do not want users to be able to download this extension on their own. For example, this is a companion extension that is installed as a dependency for the main one, but has its own update server.
- Layout
- You can create your own HTML layouts for project pages and specify your own individual settings for each project. The project-specific settings override the general settings.
Tab "Content"
The "Content" tab contains a brief and complete description of the digital product. HTML cannot be used in the short description, and Joomla content plugins do not process this field either.
There is a full description in the editor field, you can use content plugins in it. If the documentation for a digital product is small, then it makes sense to put it all on one page in the full description of the project.
Tab "Payment"
This tab indicates a paid digital product or a free one.
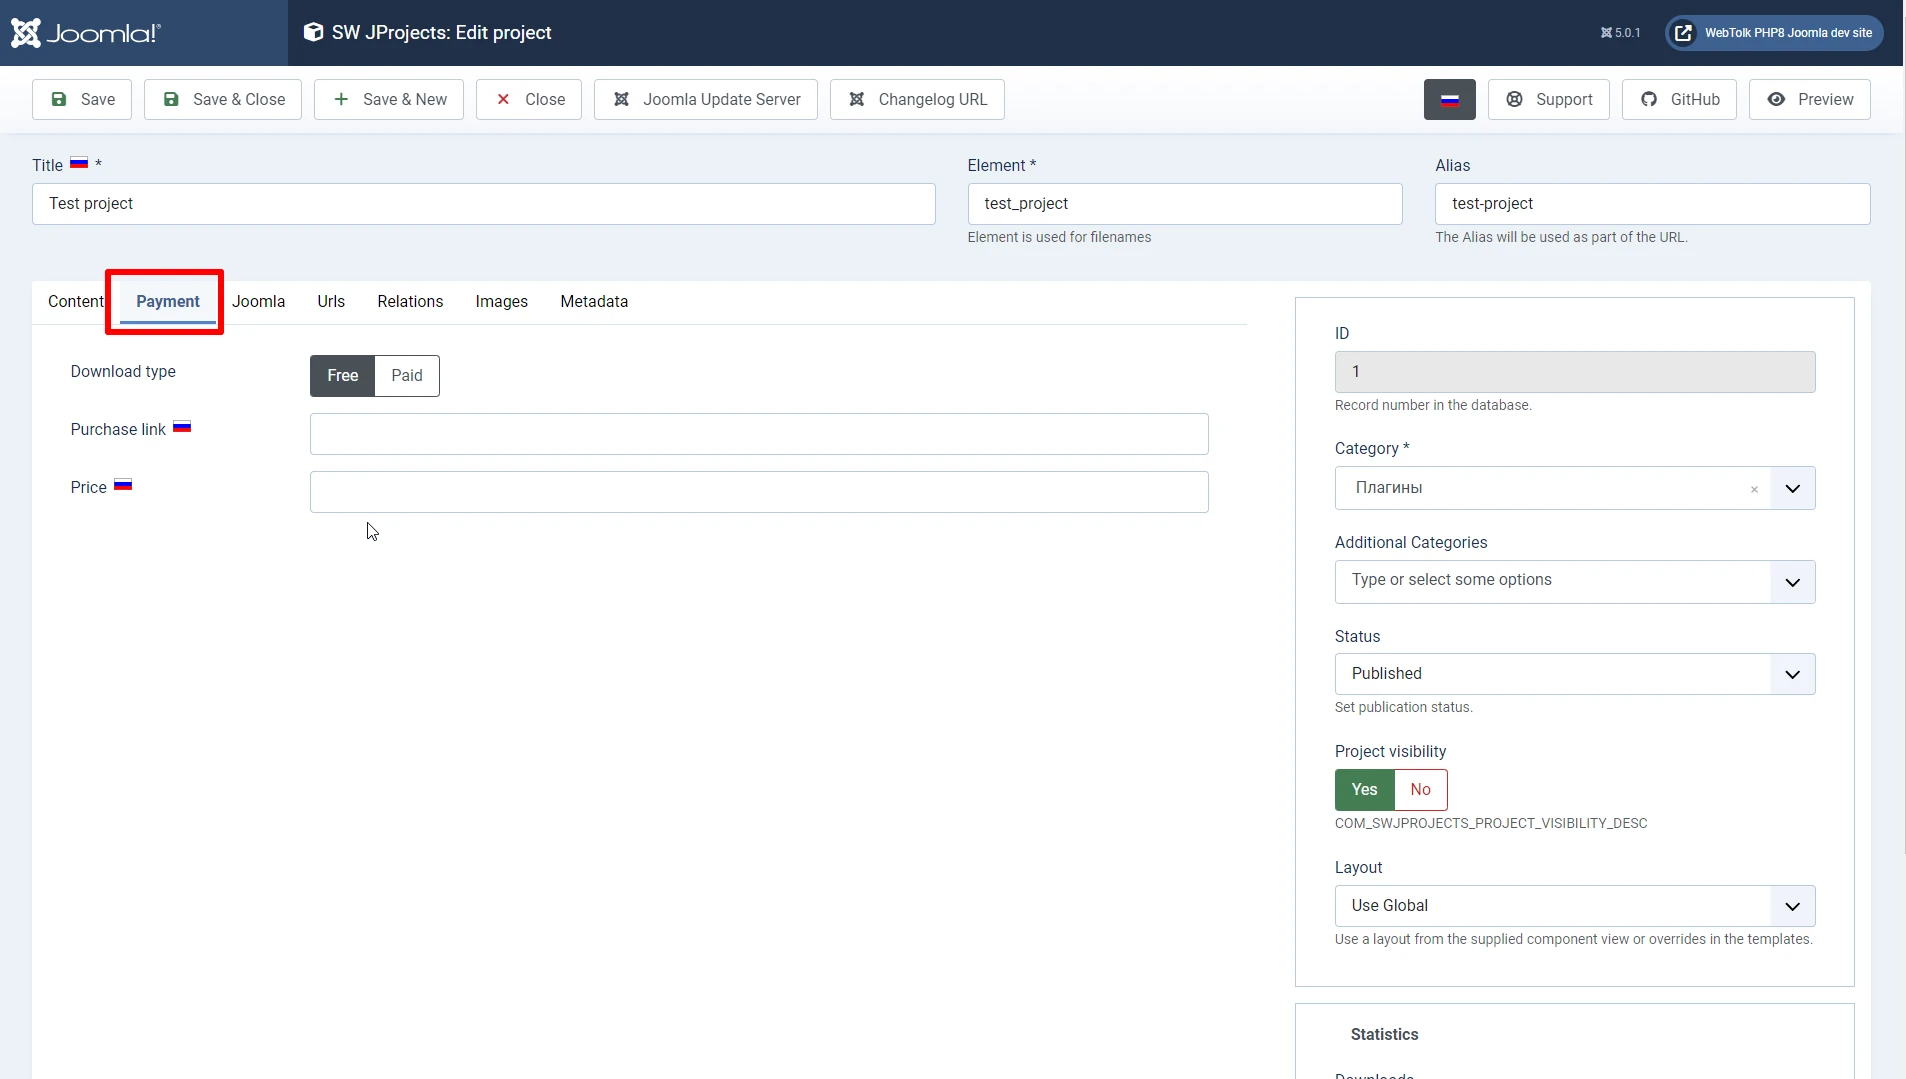
- Download type
- Possible values: paid, free. If the product is paid, then you can download it only using a valid license key. The key is created for the client in the Keys section.
- Purchase link
- Specify an absolute or relative link where you can make a payment for your digital product. This can be either a link to an online store on your own site, or a link to third-party services. The link will be shown instead of the "download" button. The link will be shown only if the "paid download type" is selected.
- Price
- Specify the cost of your digital product. You can also specify the currency here. This value is displayed the same for all languages of the site if you have a multilingual site.
Joomla tab
Update Server settings for Joomla extensions
If your project is an extension for Joomla, use this section. If not, leave it blank.
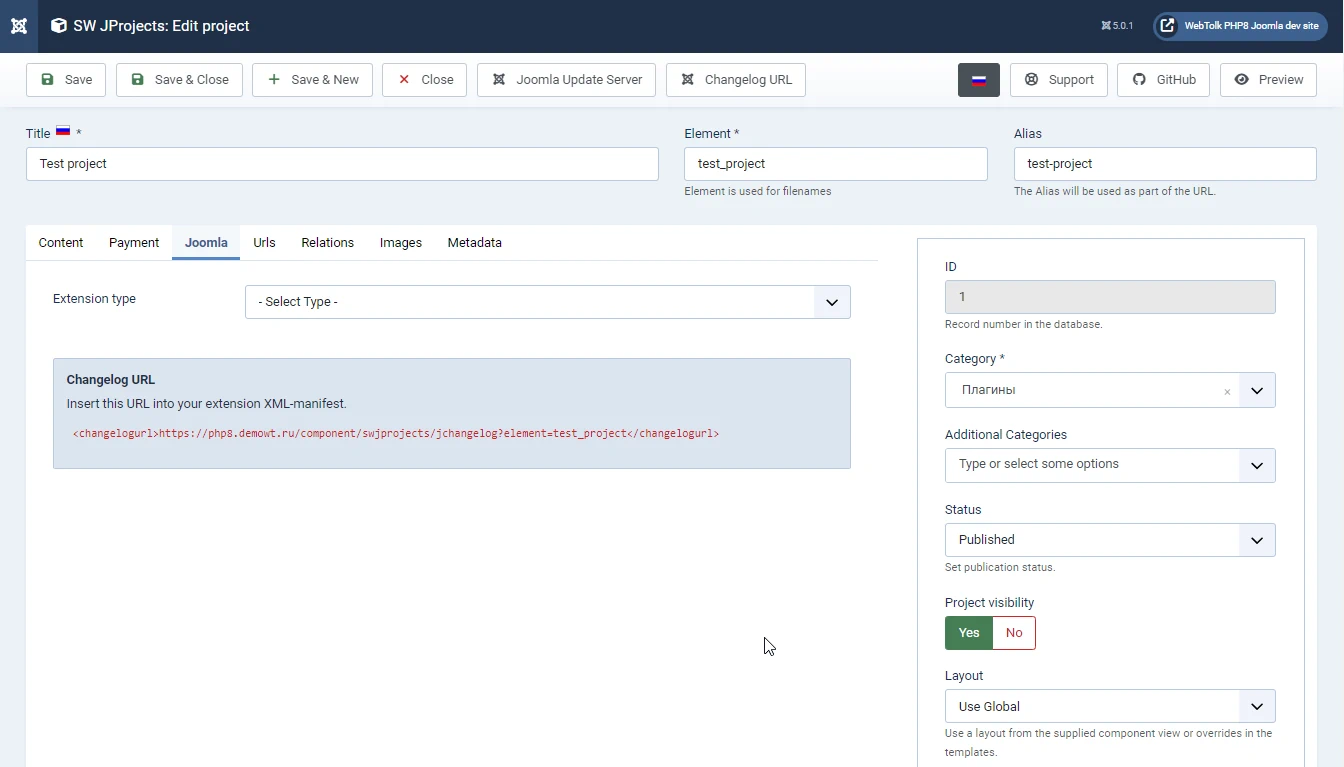
Here you can choose the type of your Joomla extension:
- component
- file
- language
- library
- package
- plugin
- template
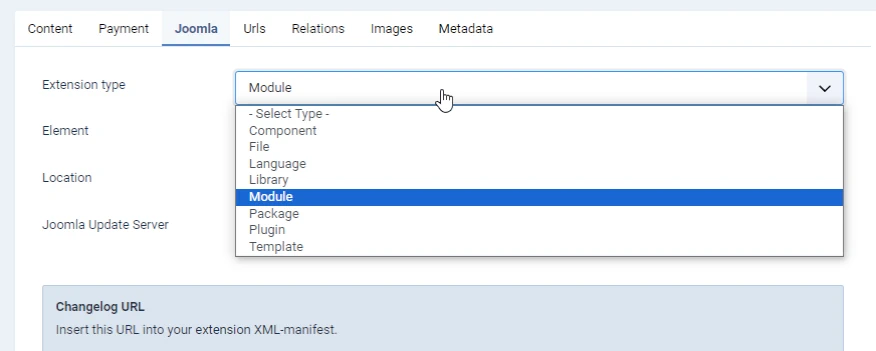
Additional necessary parameters will be available for some types of Joomla extensions. So for modules, templates, you need to specify the system area - the Website or the Control Panel. And for plugins, you need to specify the directory: system, content, editors-xtd, console, etc. This information is displayed on the project page.
Joomla has a system for receiving extension updates from their developers. To do this, the developer must generate an XML file of the update server on his website according to official Joomla documentation.
With the SW JProjects component, this is done in a few clicks. Specify the extension type and enable the update server. As soon as at least one version is created for the project, the update server will begin to generate an XML file of the desired structure.
Copy the code from the field to the XML manifest of your extension. When installing it on client sites, Joomla will add your server to the list of update servers and periodically poll it for new versions.
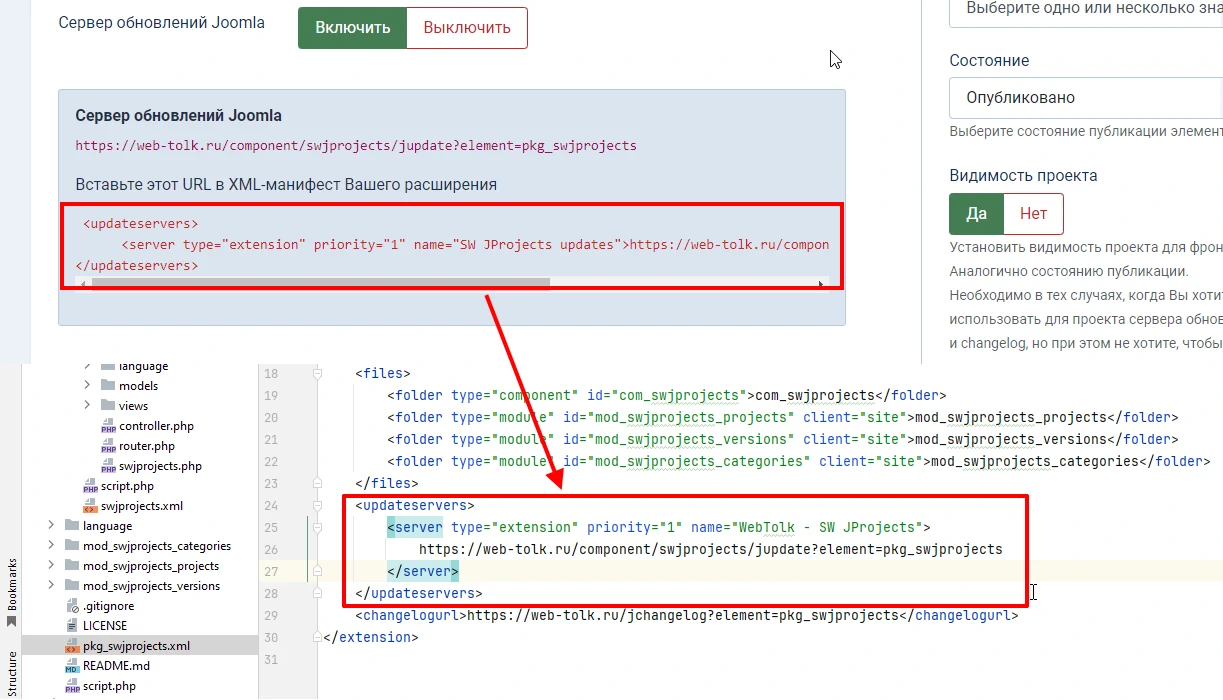
Then you will be able to update extension versions on your clients' websites in a natural way for Joomla.
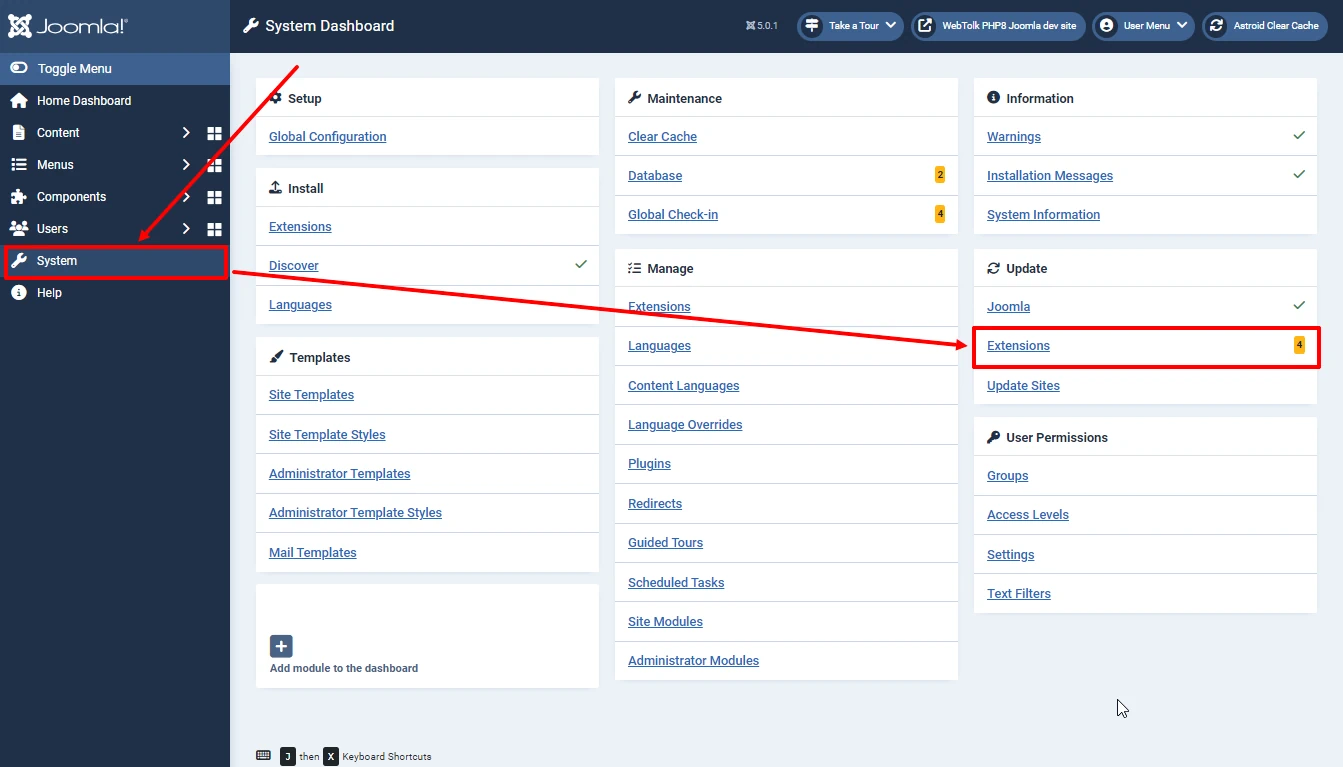
Go to the left menu System - Update - Extensions.
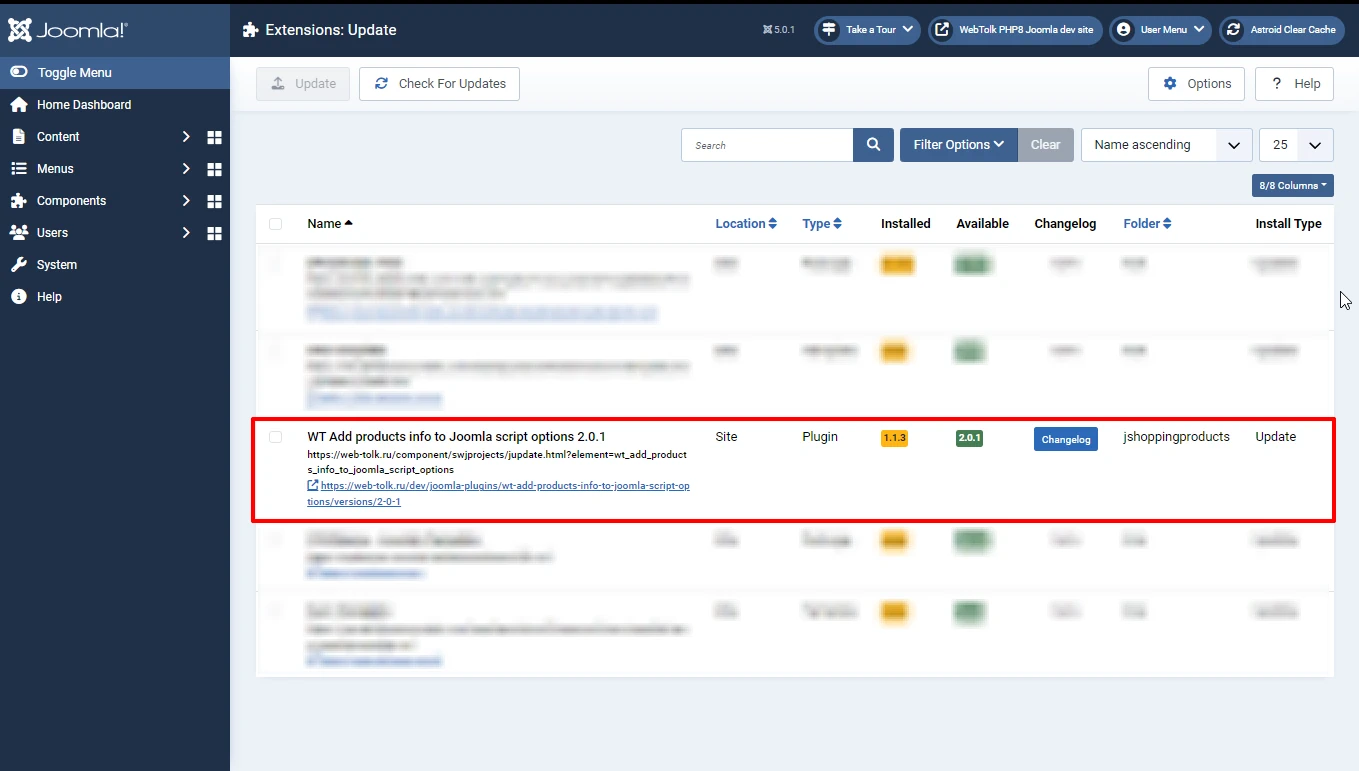
Changelog URL
Starting with Joomla 4, CMS has the ability to view the list of changes in the extension before updating. To do this, the developer must implement on his server for each extension an XML file with descriptions of changes for each extension according to the official Joomla documentation: Adding changelog to your manifest file.
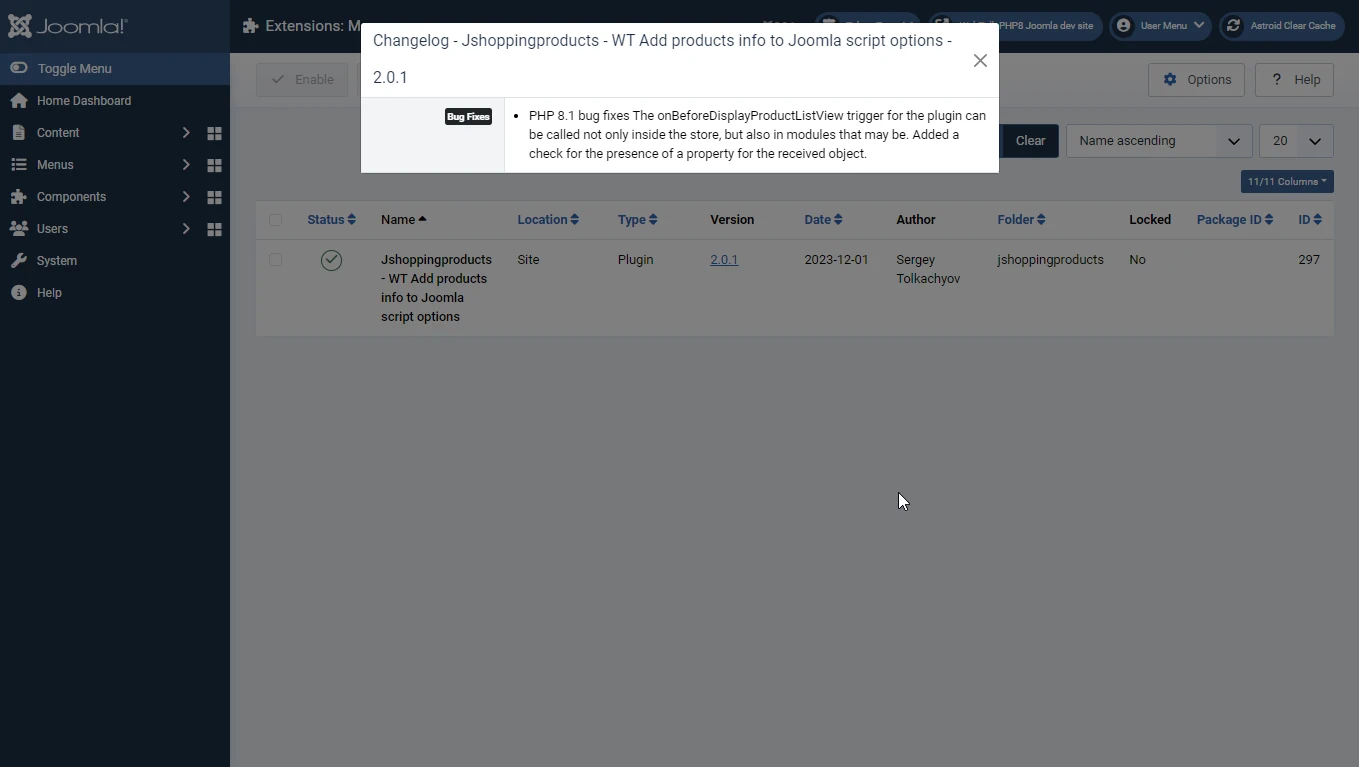
The SW JProjects component creates a URL for each Joomla Changelog extension automatically. In the previous screenshot, pay attention to the Changes button in the list of extension updates. Clicking on it opens a modal window with a list of changes in the new version. This way you can inform your client about new features and potential backward compatibility issues before updates the extension.
The same window with information about changes in the release opens in the list of Joomla extensions. Go to the left menu System - Extensions - Manage. Find the desired extension in the list.
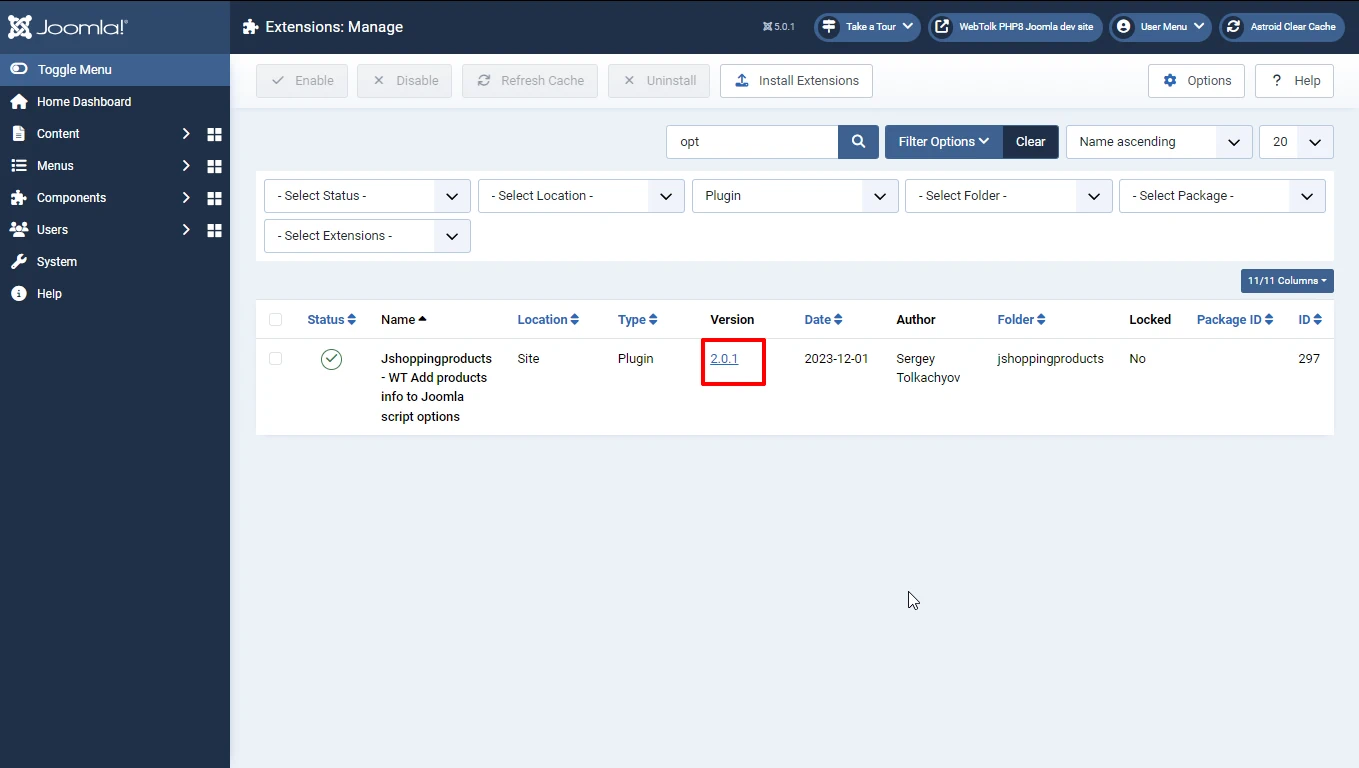
If there is a Changelog URL for it (it was added to the XML manifest of the extension), then the version number will be the link that opens the information window.
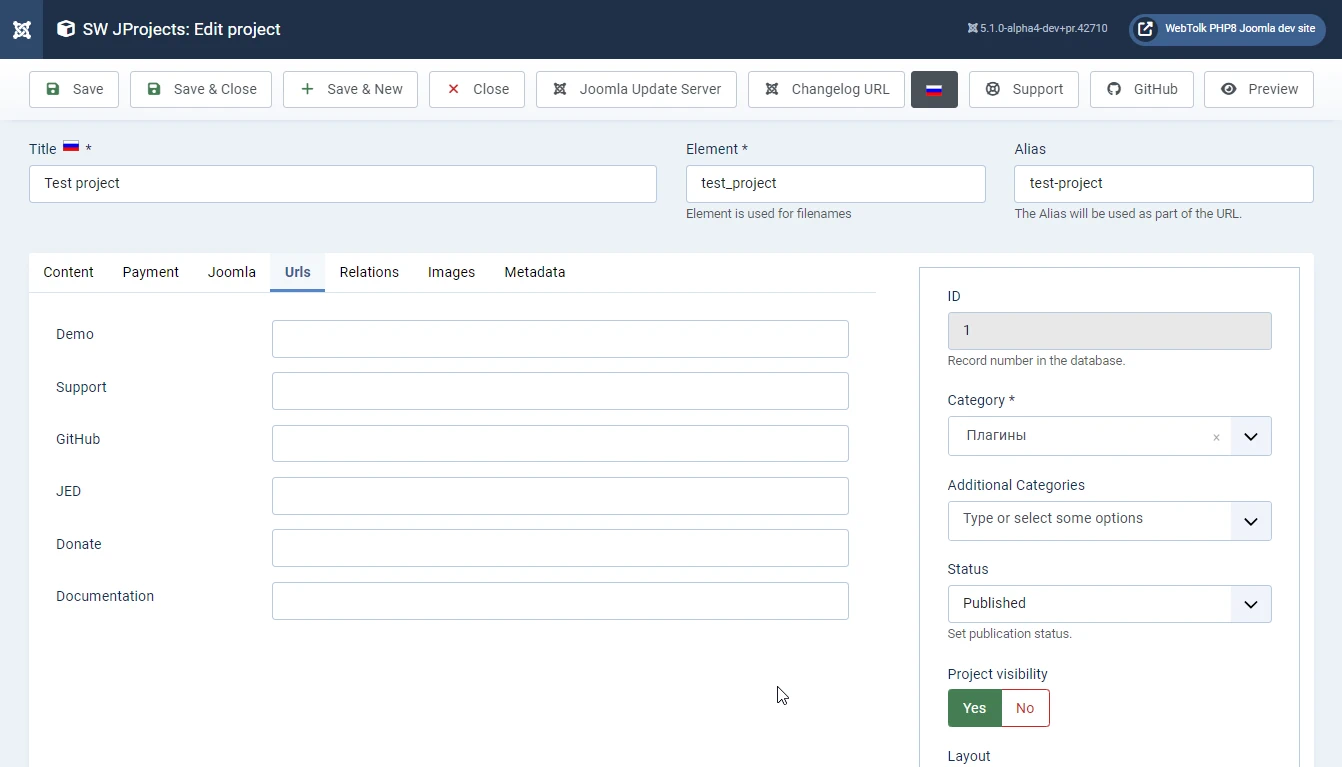
Tab "URLs"
In this tab, you can specify all external links for the project:
- link to the page showing how the extension works
- terms of support for the extension
- link to the GitHub repository. You can specify any link, not necessarily GitHub, but in this case, redefine the layout in the template or your template to specify your name for the button.
- link to the extension page in JED - the official Joomla extensions marketplace - Joomla Extensions Directory
- Support is a link to the donation page
- documentation - a link to the documentation, if the built-in documentation of SW Projects is not used
Tab "Relations"
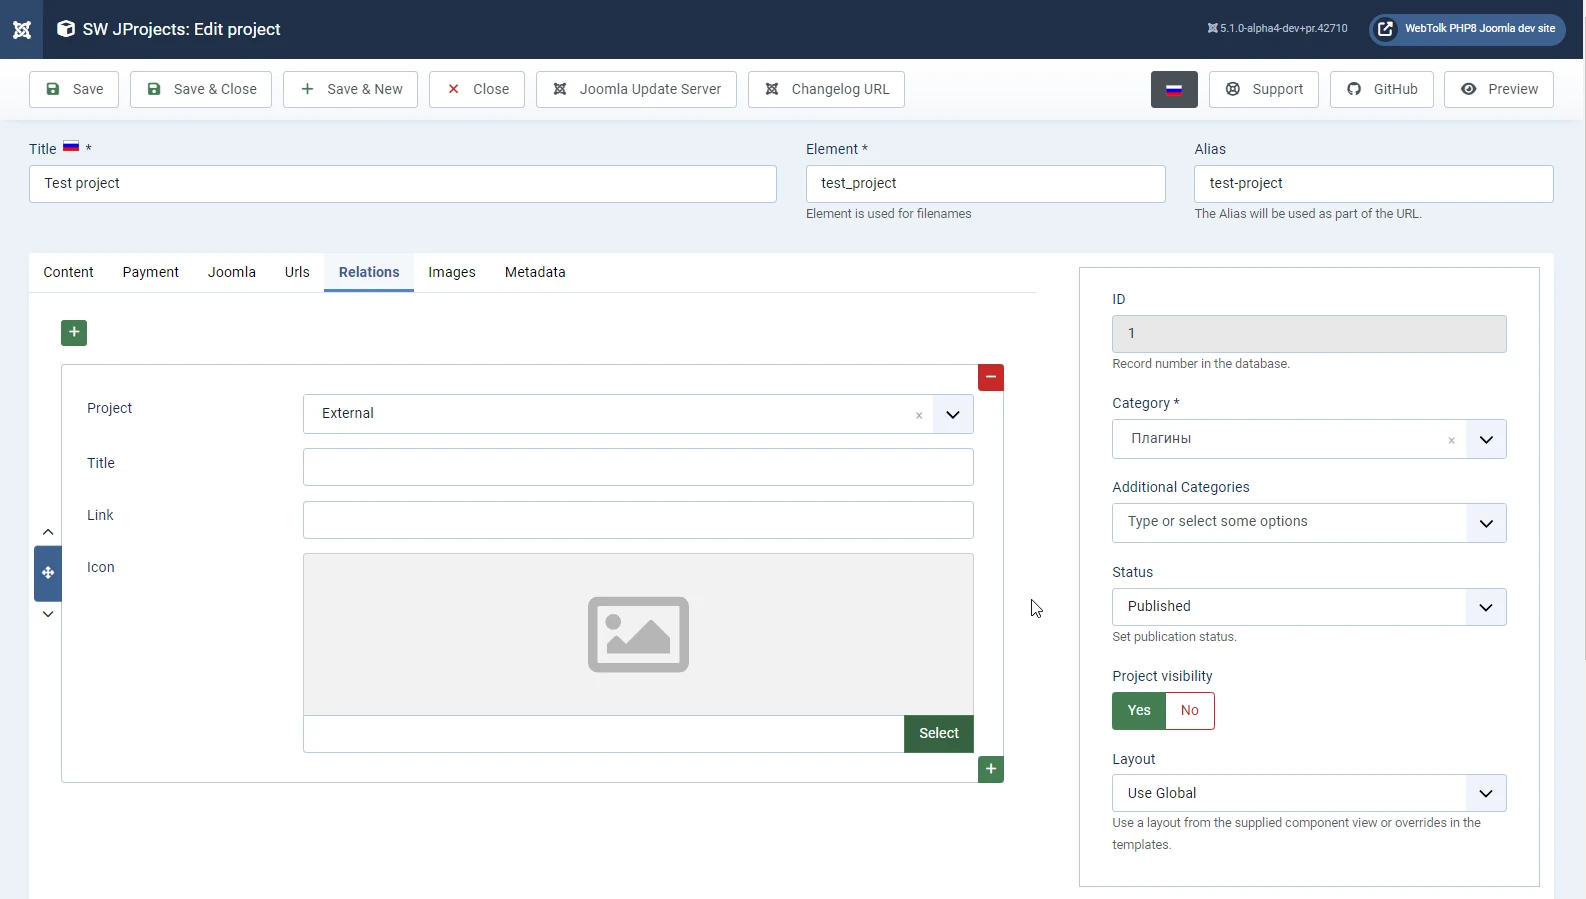
In this tab for a project, you can specify a link to an external project or an internal one. This may be a link to the library that your Joomla extension depends on, a link to a framework, a service, and so on. For example, you can specify here a link to a third-party developer's GitHub repository or a site where you can download/buy an extension, component, etc. If the project is "internal" - located in your SW JProjects, then select it from the drop-down list.
Tab "Images"
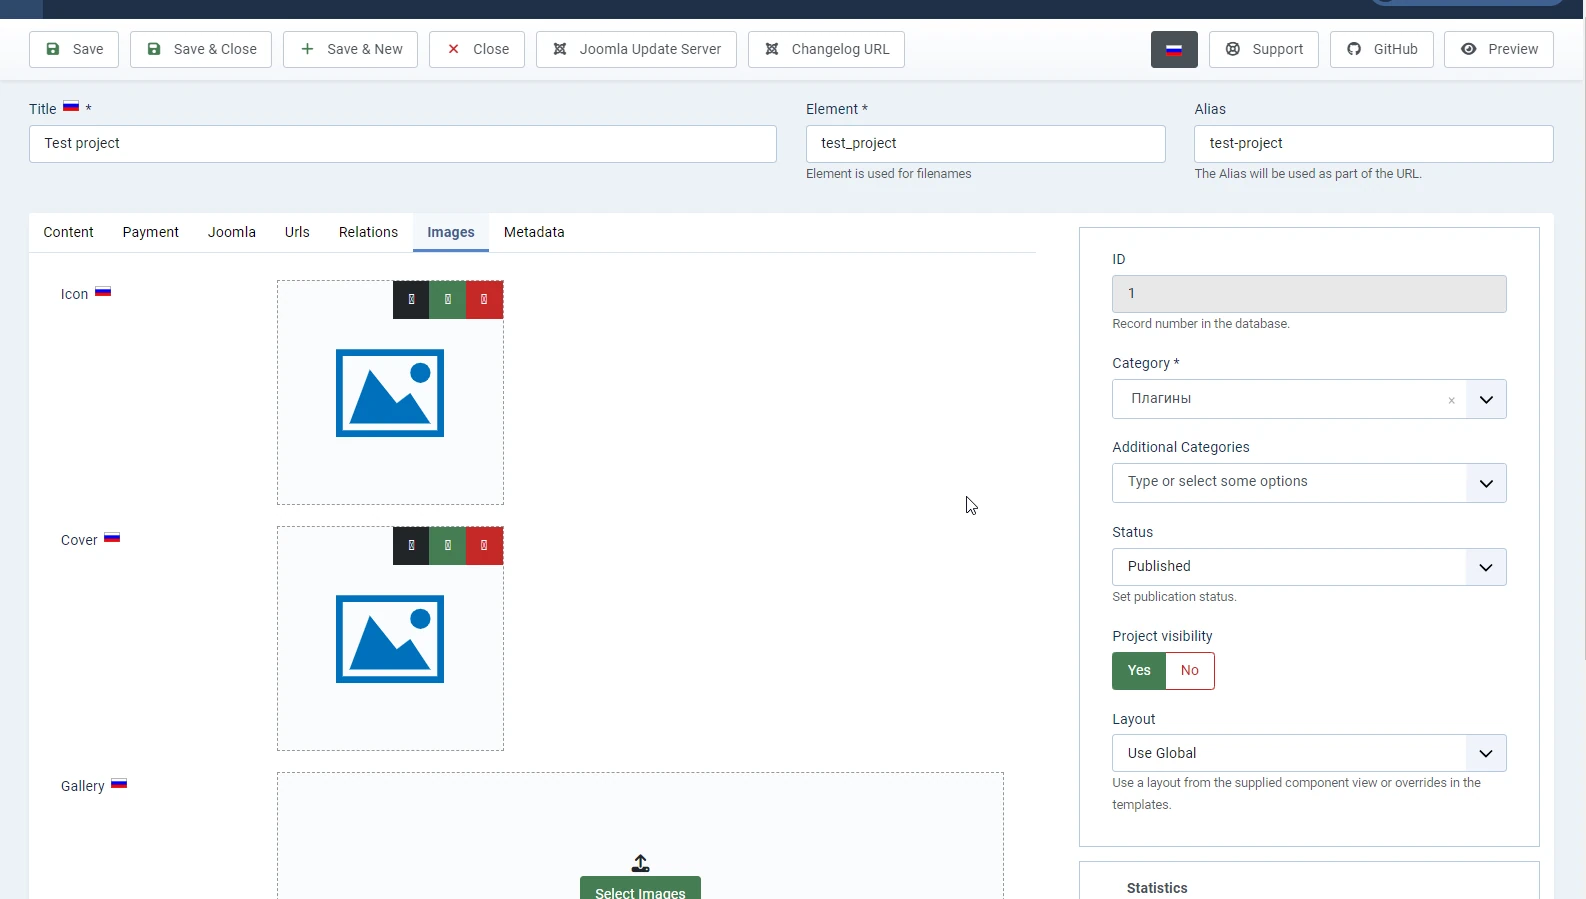
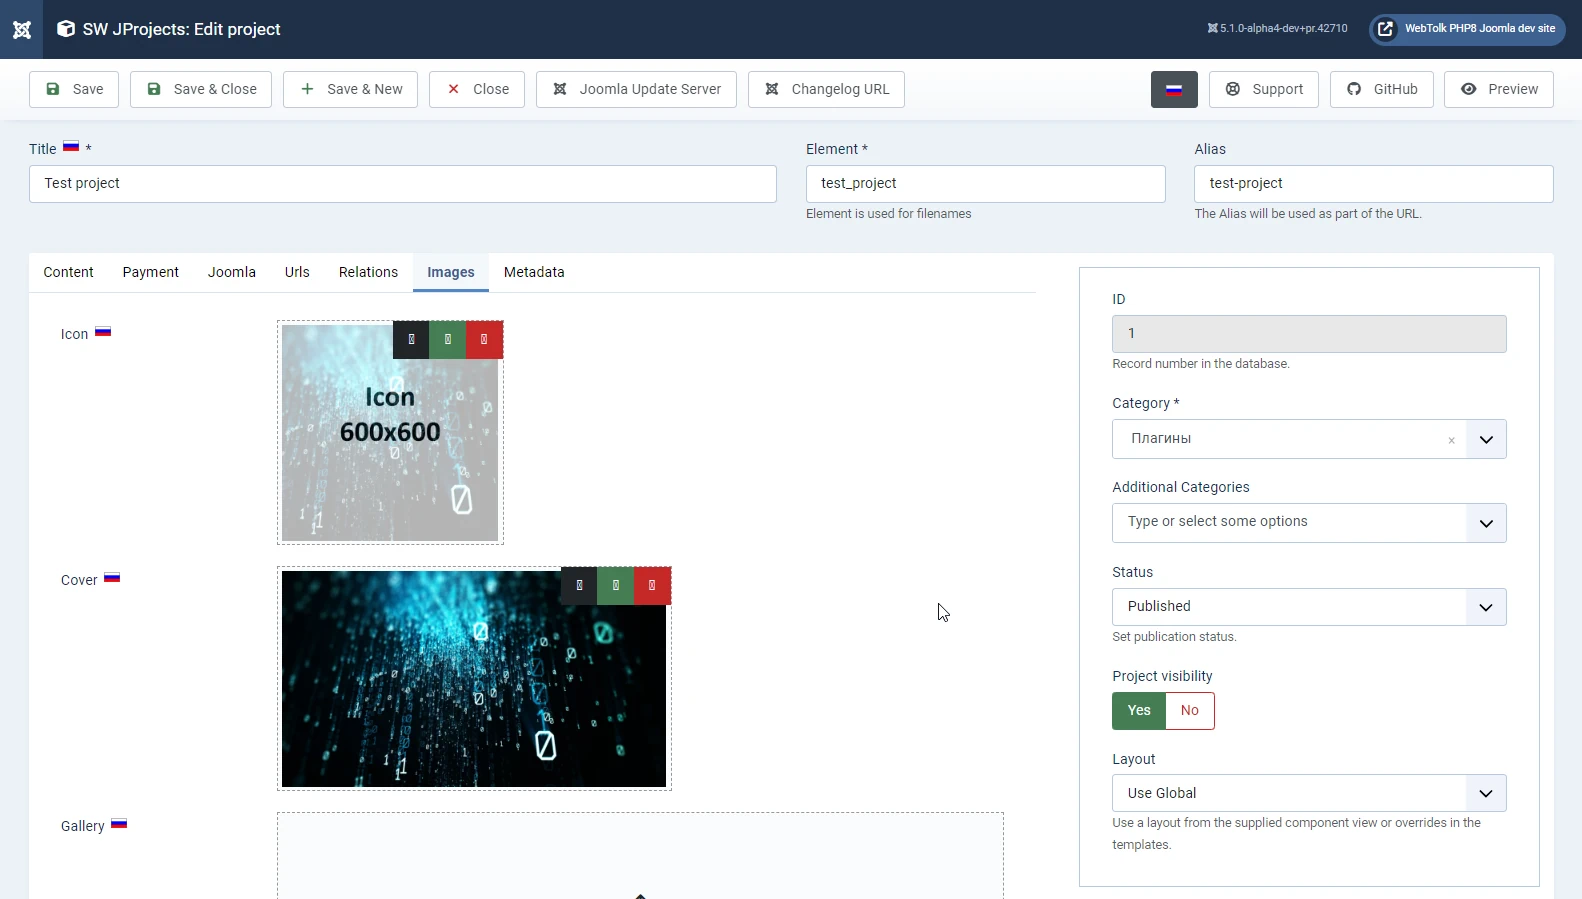
Here you can specify images for the project.
- Icon
- A small image displayed in the list of projects and on the project page
- Cover
- In the default template, this image is used only for Open Graph tags, the image meta tag. However, you can also use it in your design in your template.
- Gallery
- All screenshots necessary for the project are uploaded here: interface, installation screens, work result, etc.

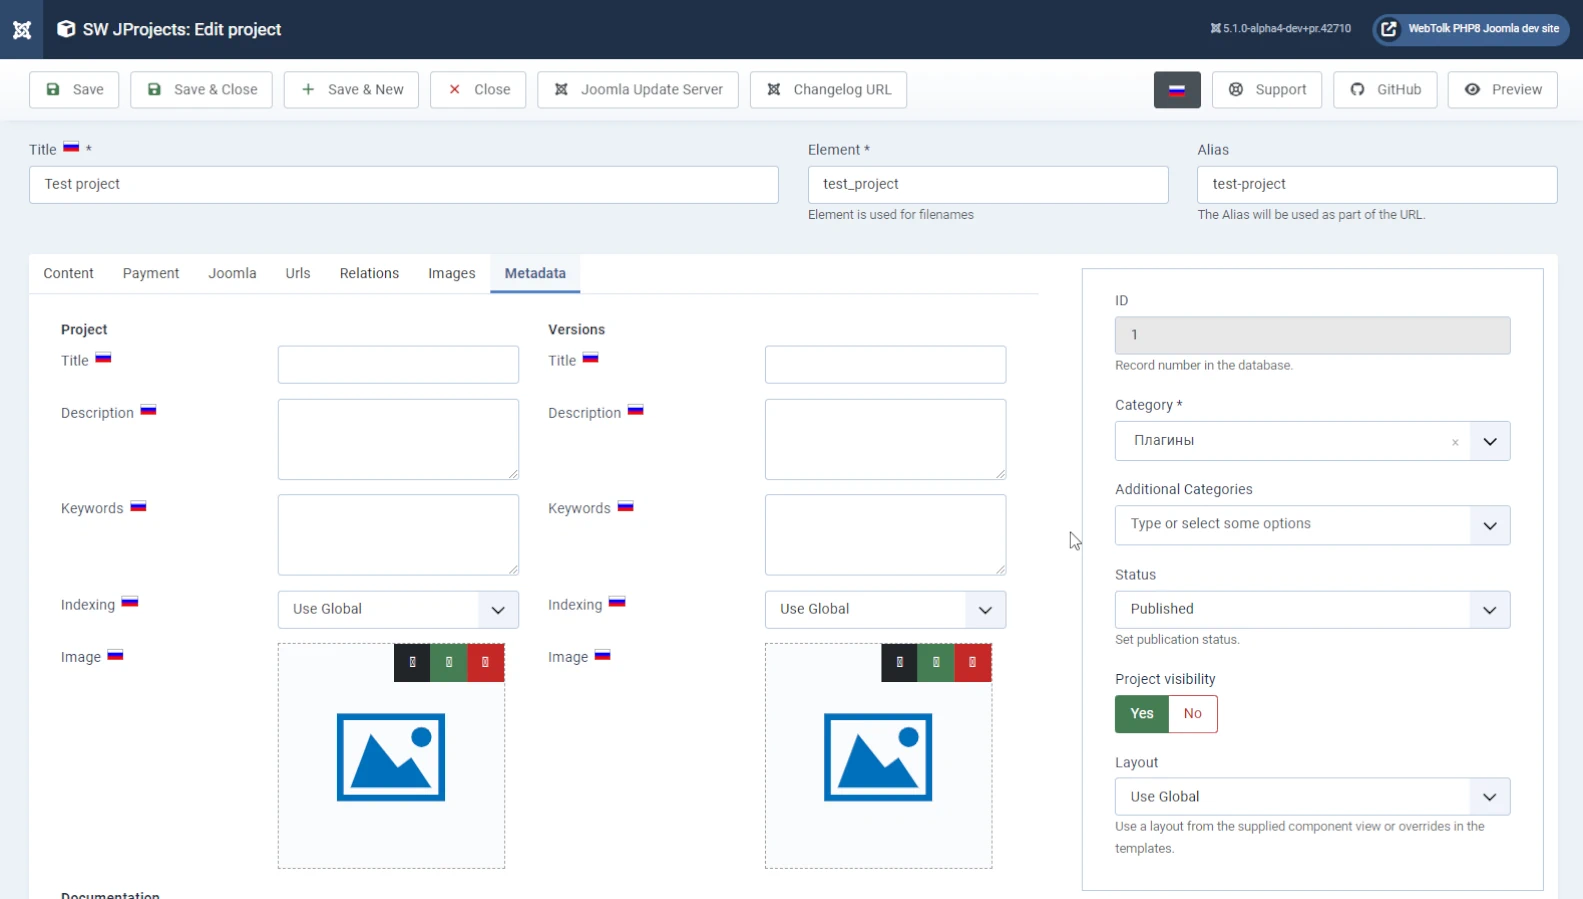
Tab "Metadata"
This tab contains the parameters necessary for SEO (search engine optimization) of your project.
- Header
- This is the
<title>tag of the page. If the field is not filled in, the<title>tag of the project page contains the project name. But you can make the title more informative, for example: "Download the plugin PLUGIN NAME for Joomla 5 for free." - Description
- This is the
meta-descriptiontag of the project page. There should be a brief description of the project for search engines. Data from themeta-descriptionis involved in creating a snippet of the search results. - Keywords
- This is the
meta-keywordstag. Some search engines still take this tag into account, although, for example, Google announced that it did not use this tag back in 2009. - Indexing
- The parameter controls page indexing by adding the
noindexandnofollowtags to the page body. - Image
- Image for the image meta tag.
